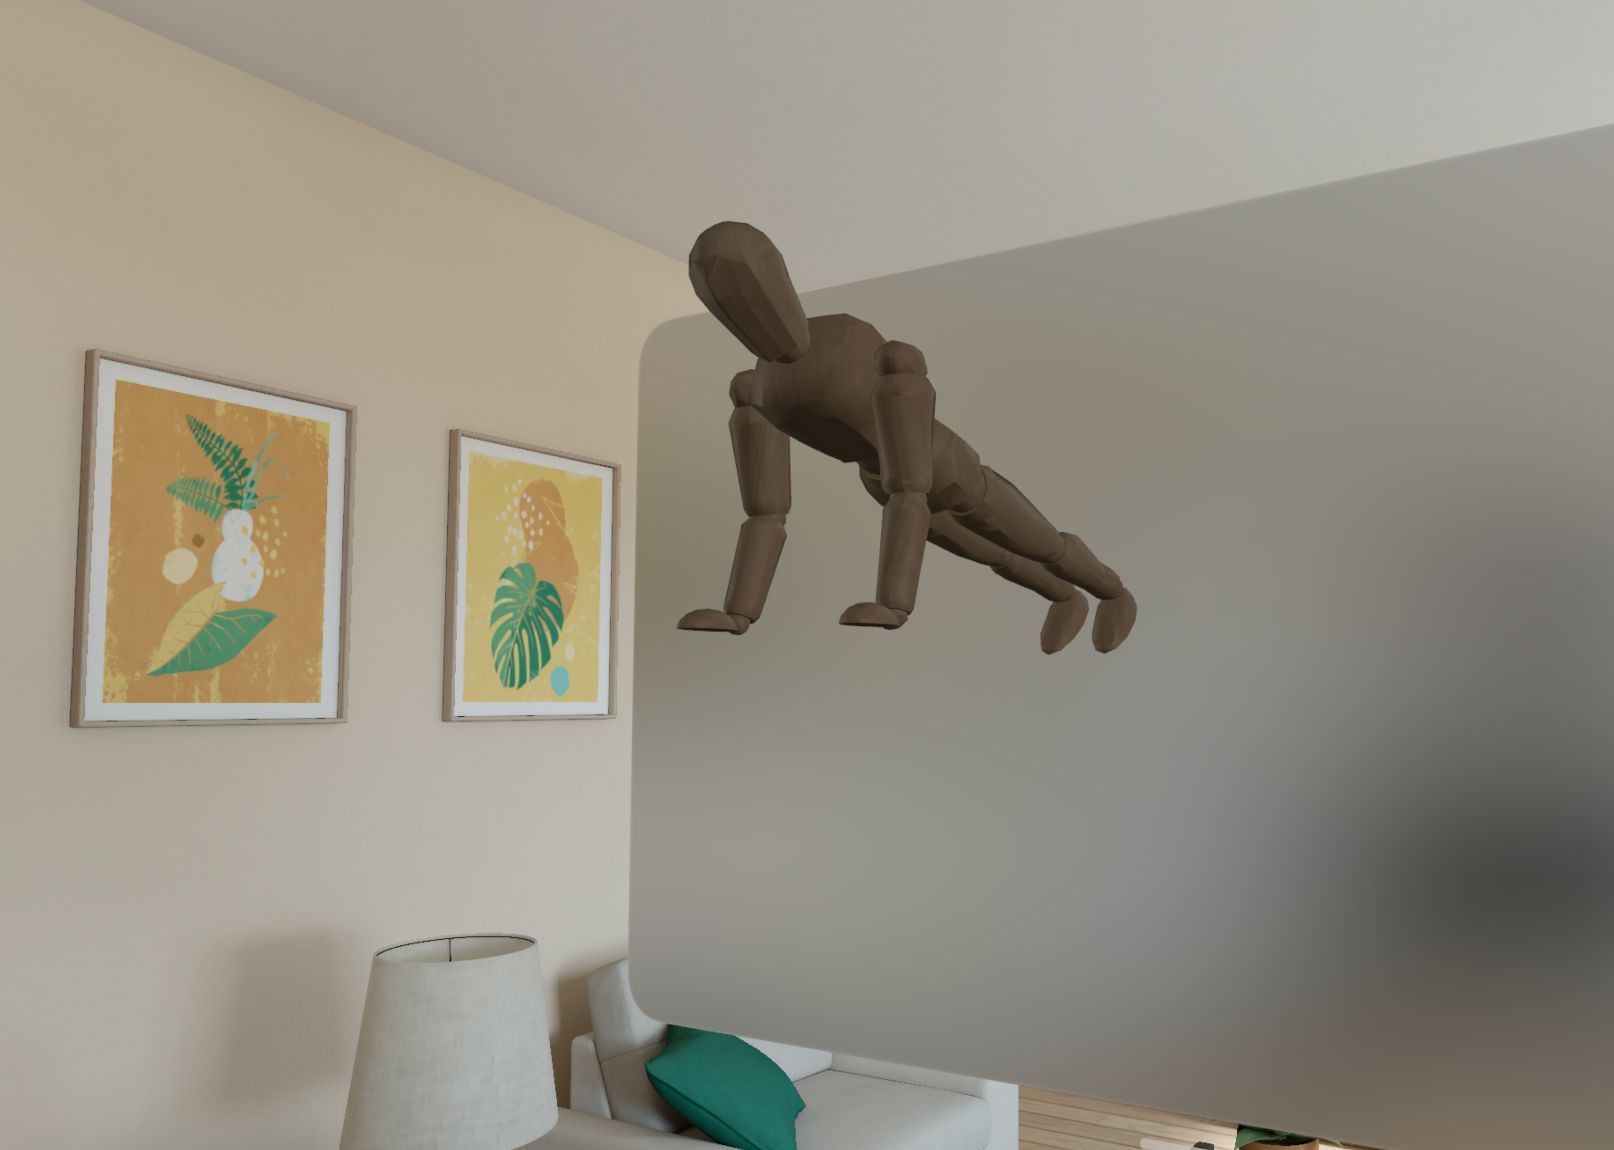
Animated Blender entity in RealityView
Starting with a Blender model we will export, convert it, and display it in a Vision Pro app.
I found this Youtube video from Sebastian Kotarski very helpful in getting this example put together. Here's the finished result:
Convert Blender file to USDZ #
To get started I chose a model from my Reps app. Rather than create animation in Reality Composer Pro, this model has an animation already built-in.
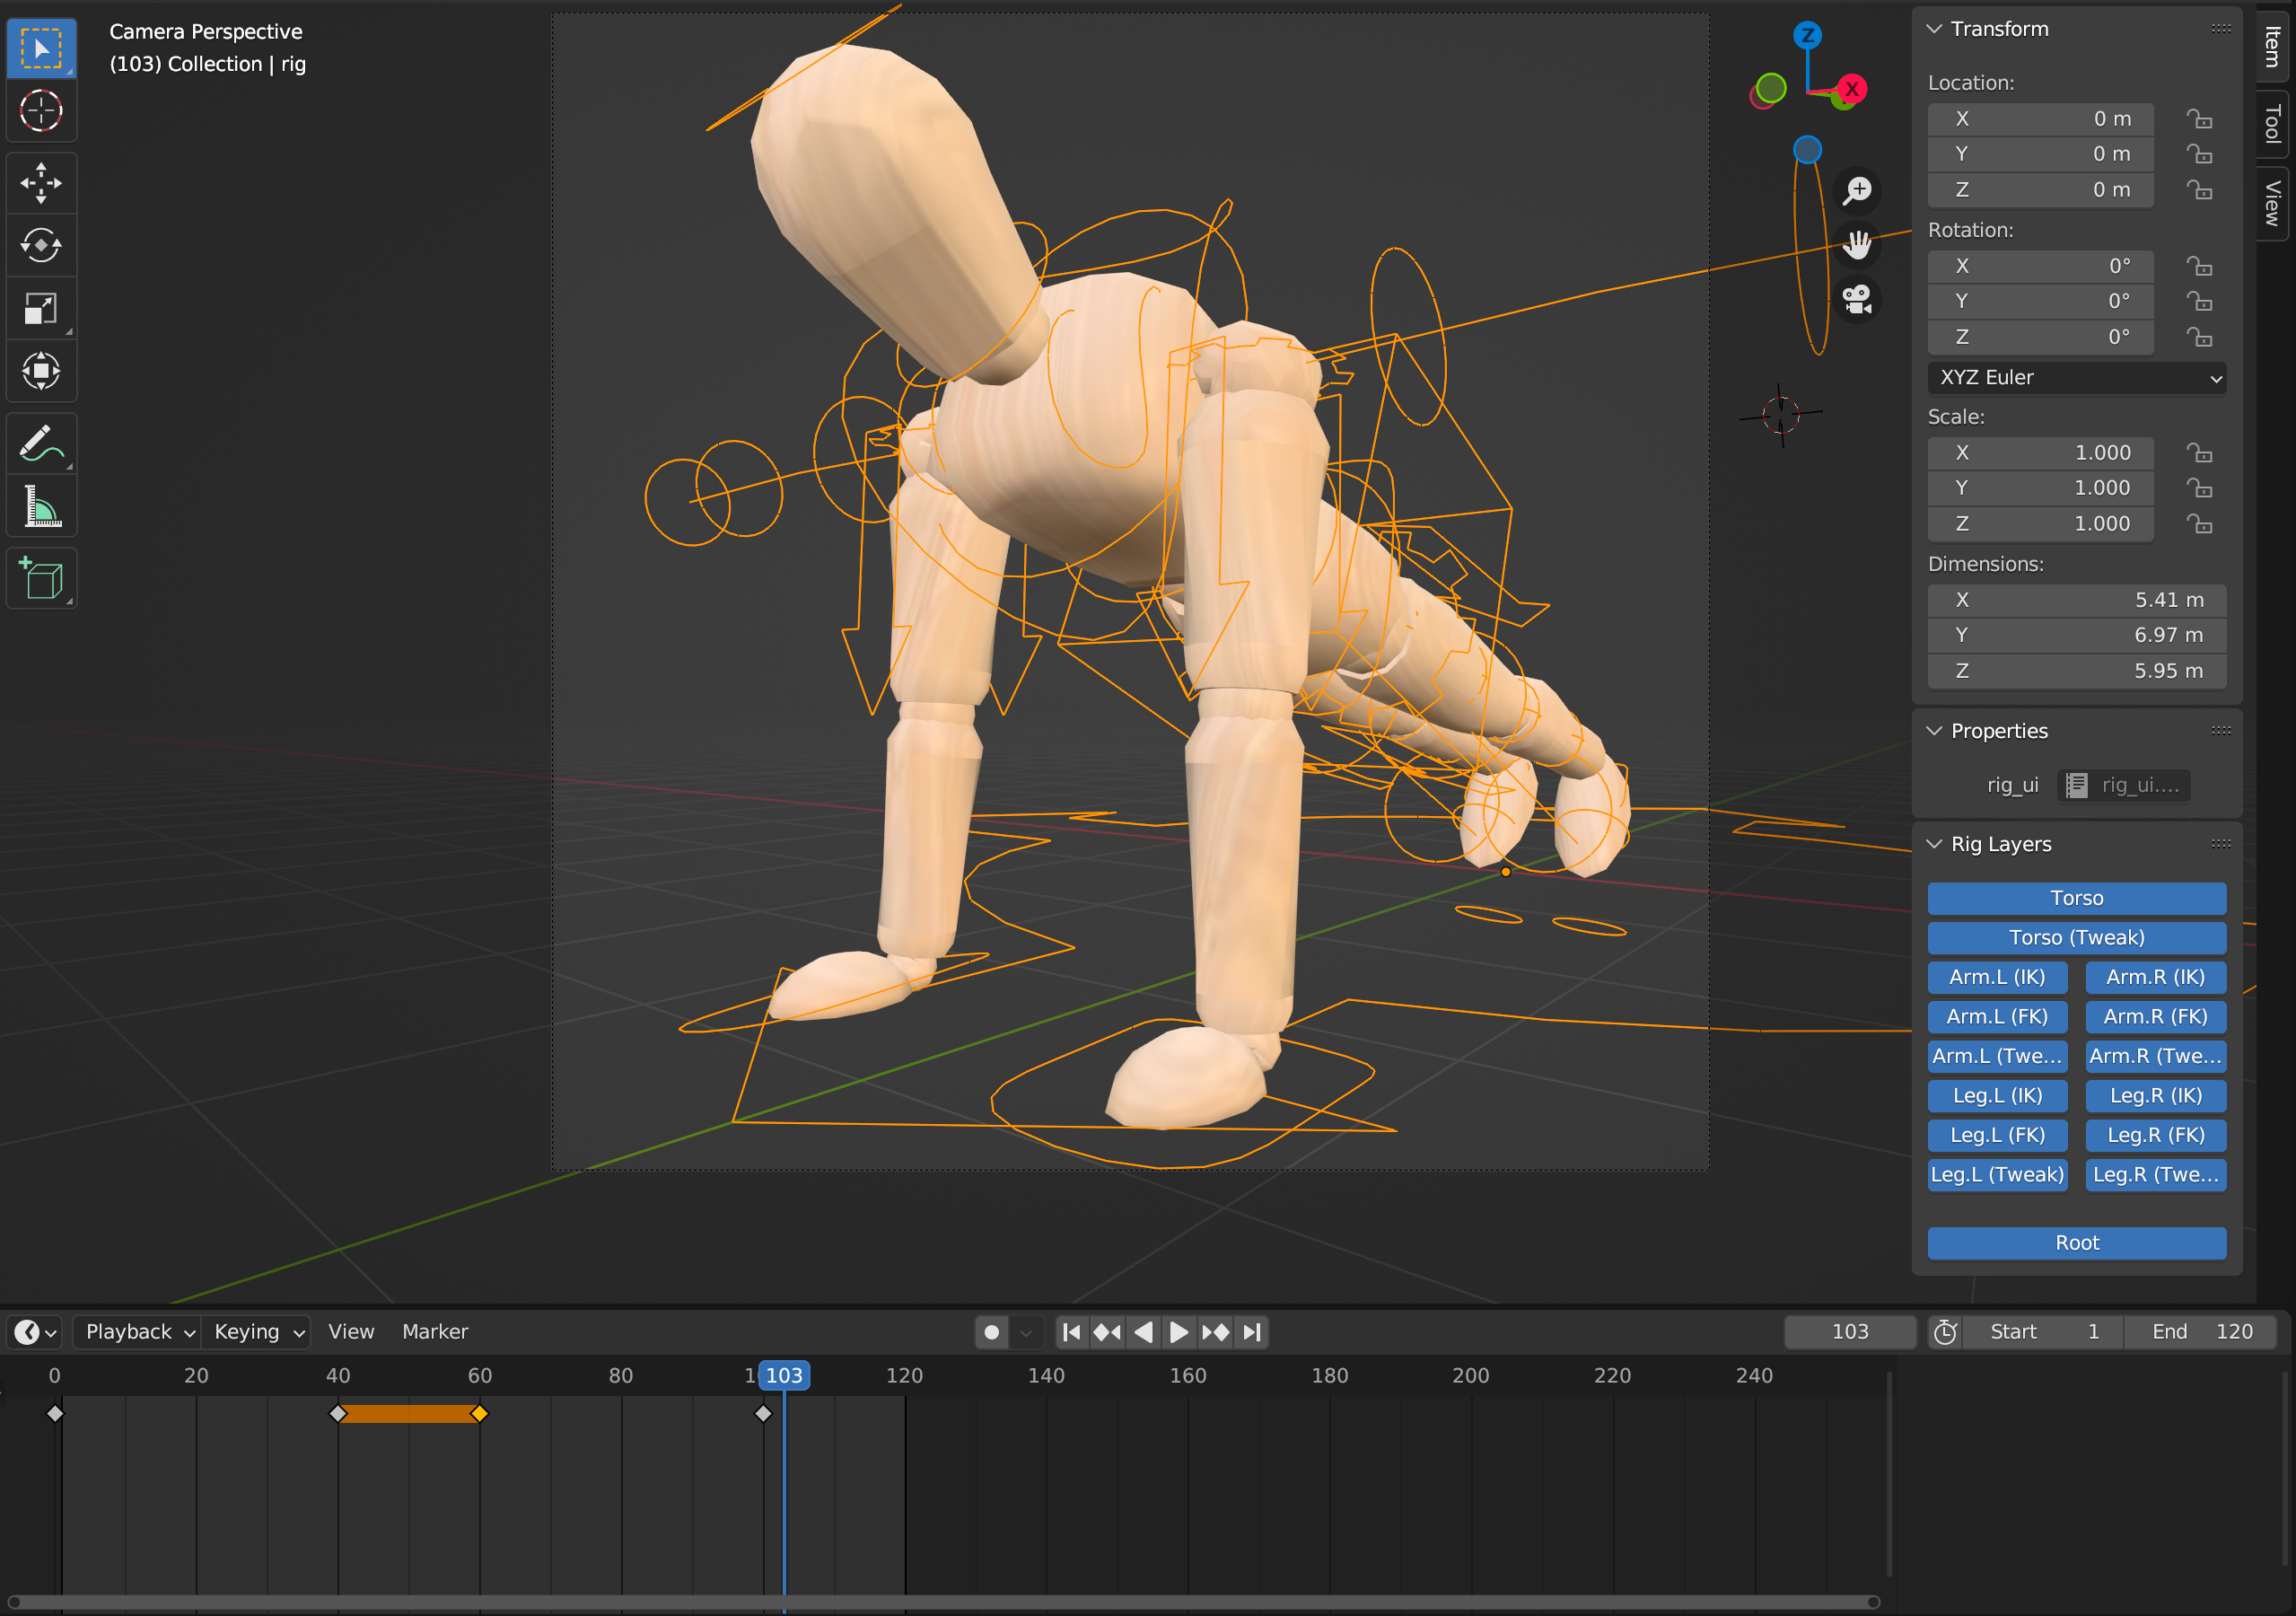
You can download the Blender file here.
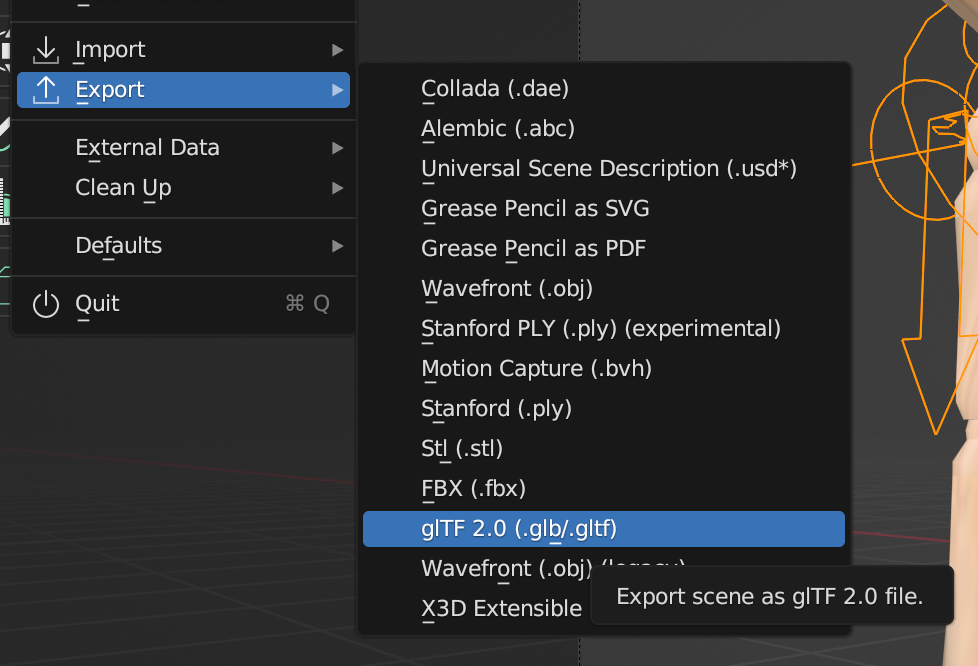
The first step is to export this model as a GLB file (gITF 2.0)
Reality Converter #
With the file exported, it can be converted in Reality Converter. Press Command + Space and type "Reality Converter" to find it.
You can then drag the exported glb file into the converter:
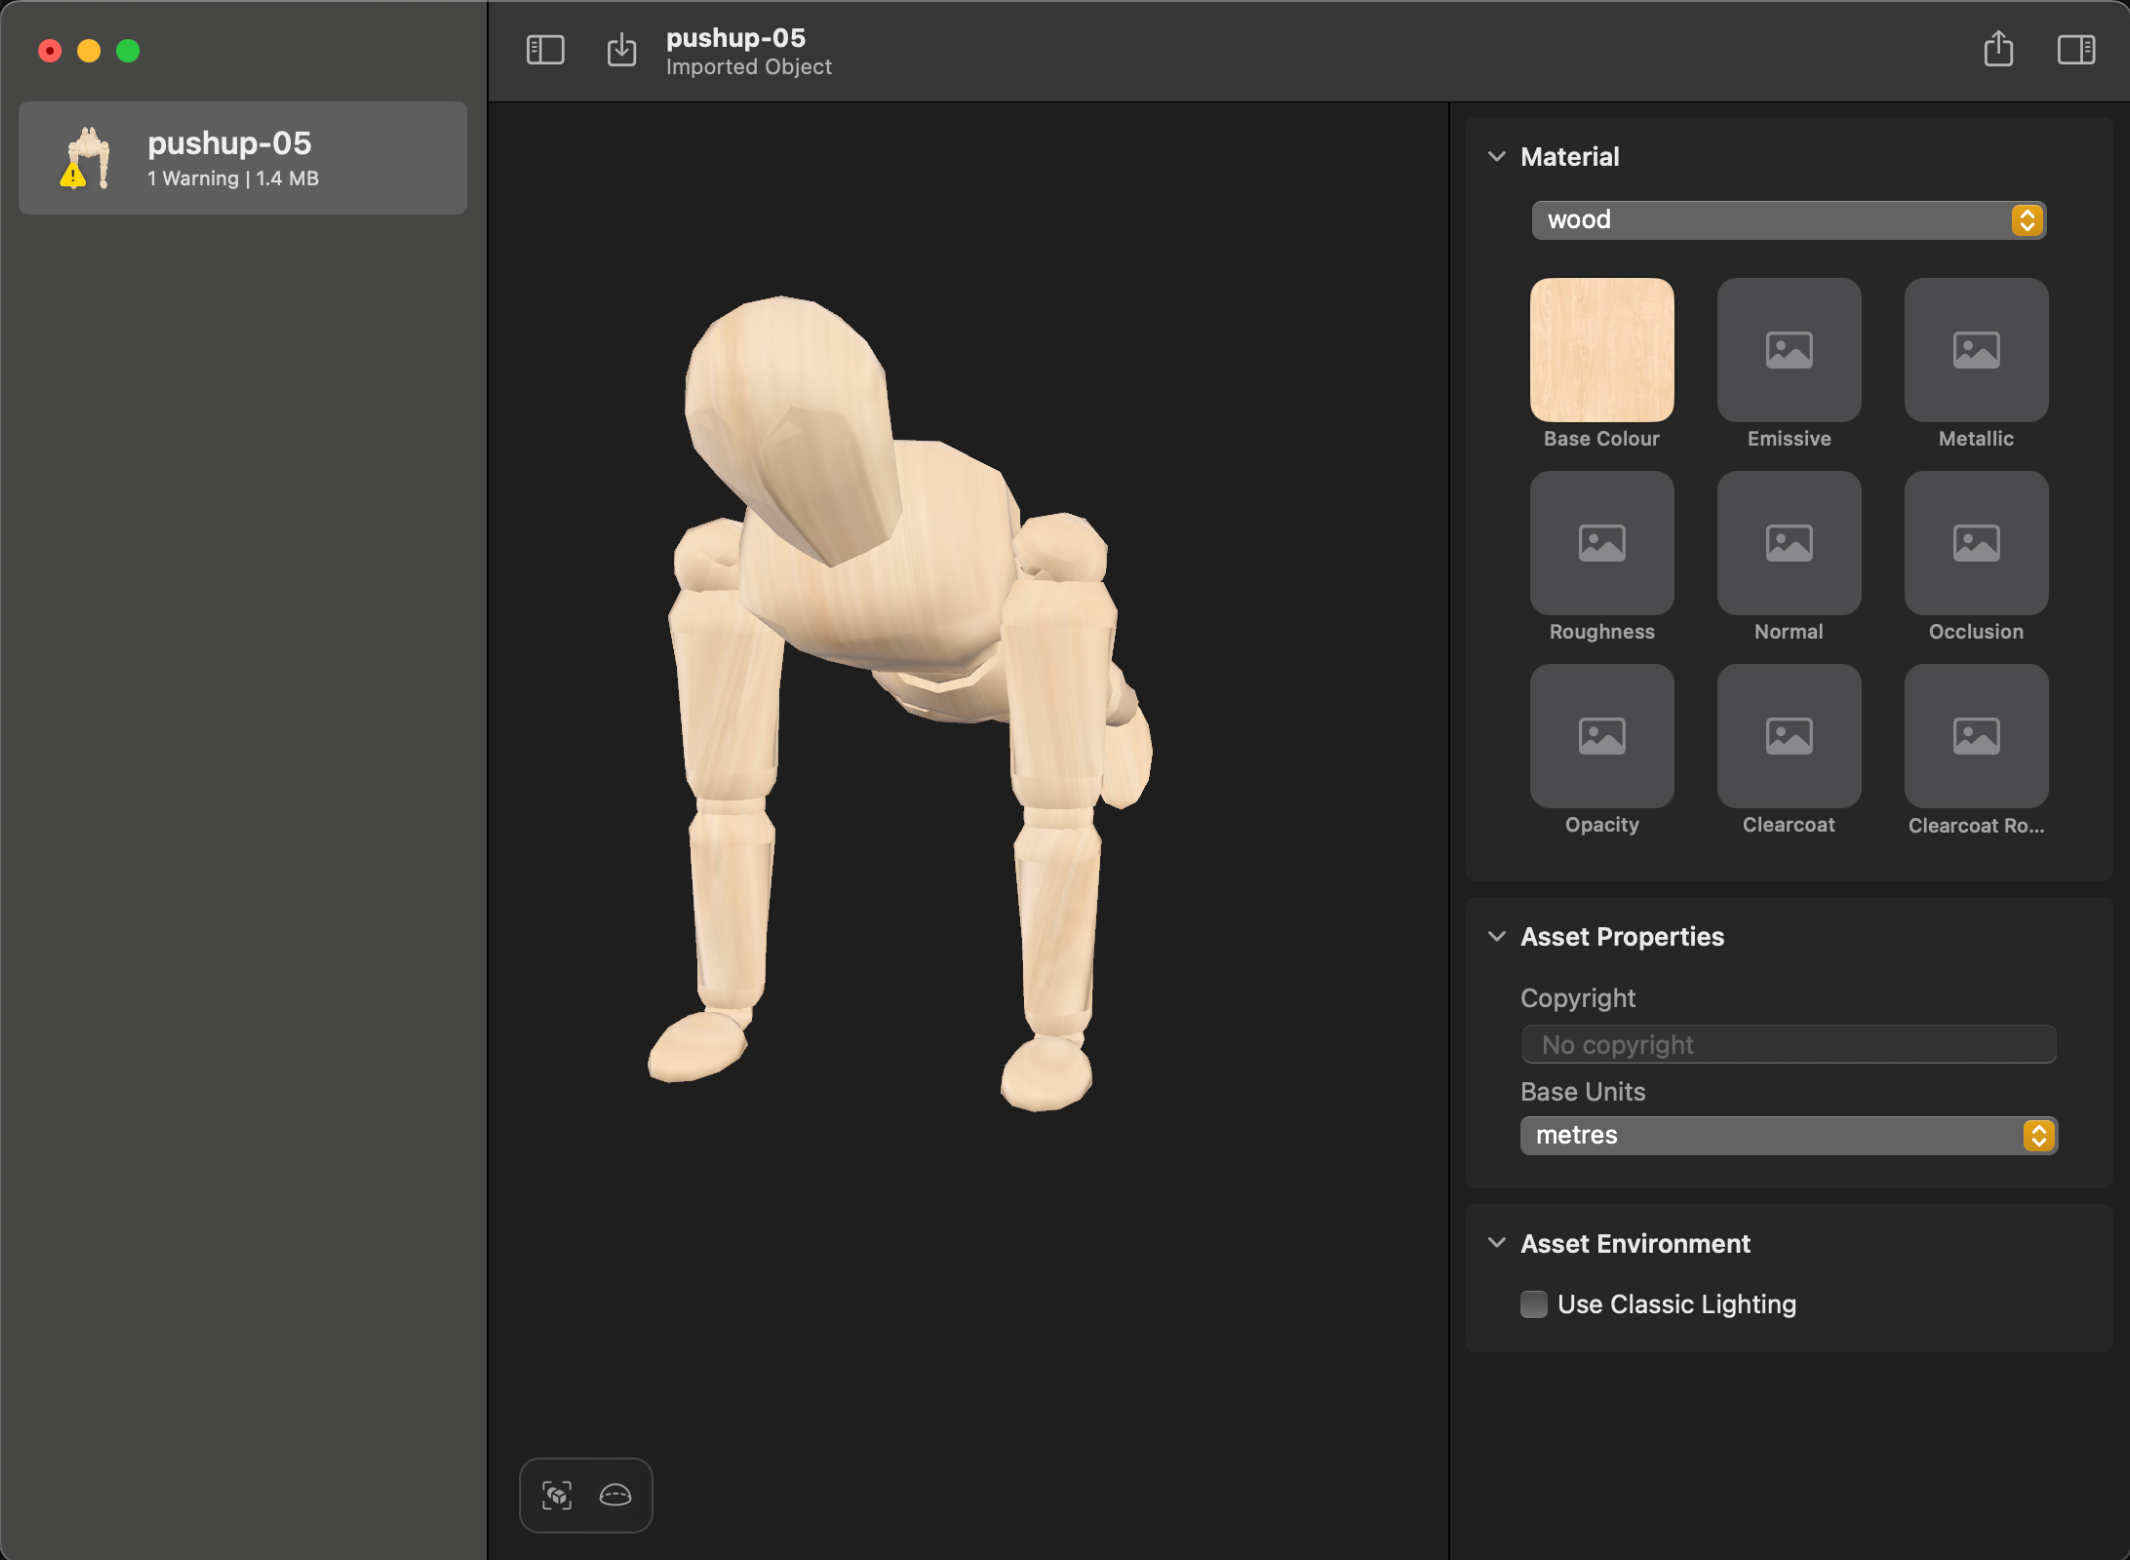
Select File -> Export to export this as usdz.
Set up in Reality Composer Pro #
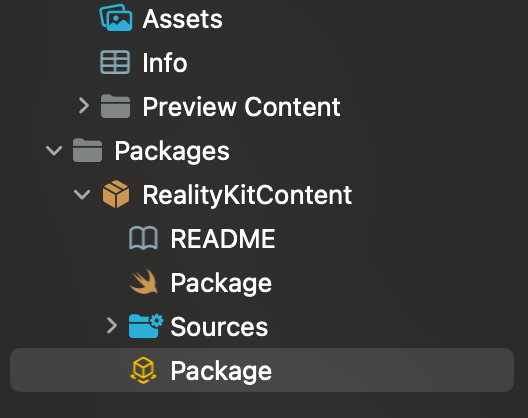
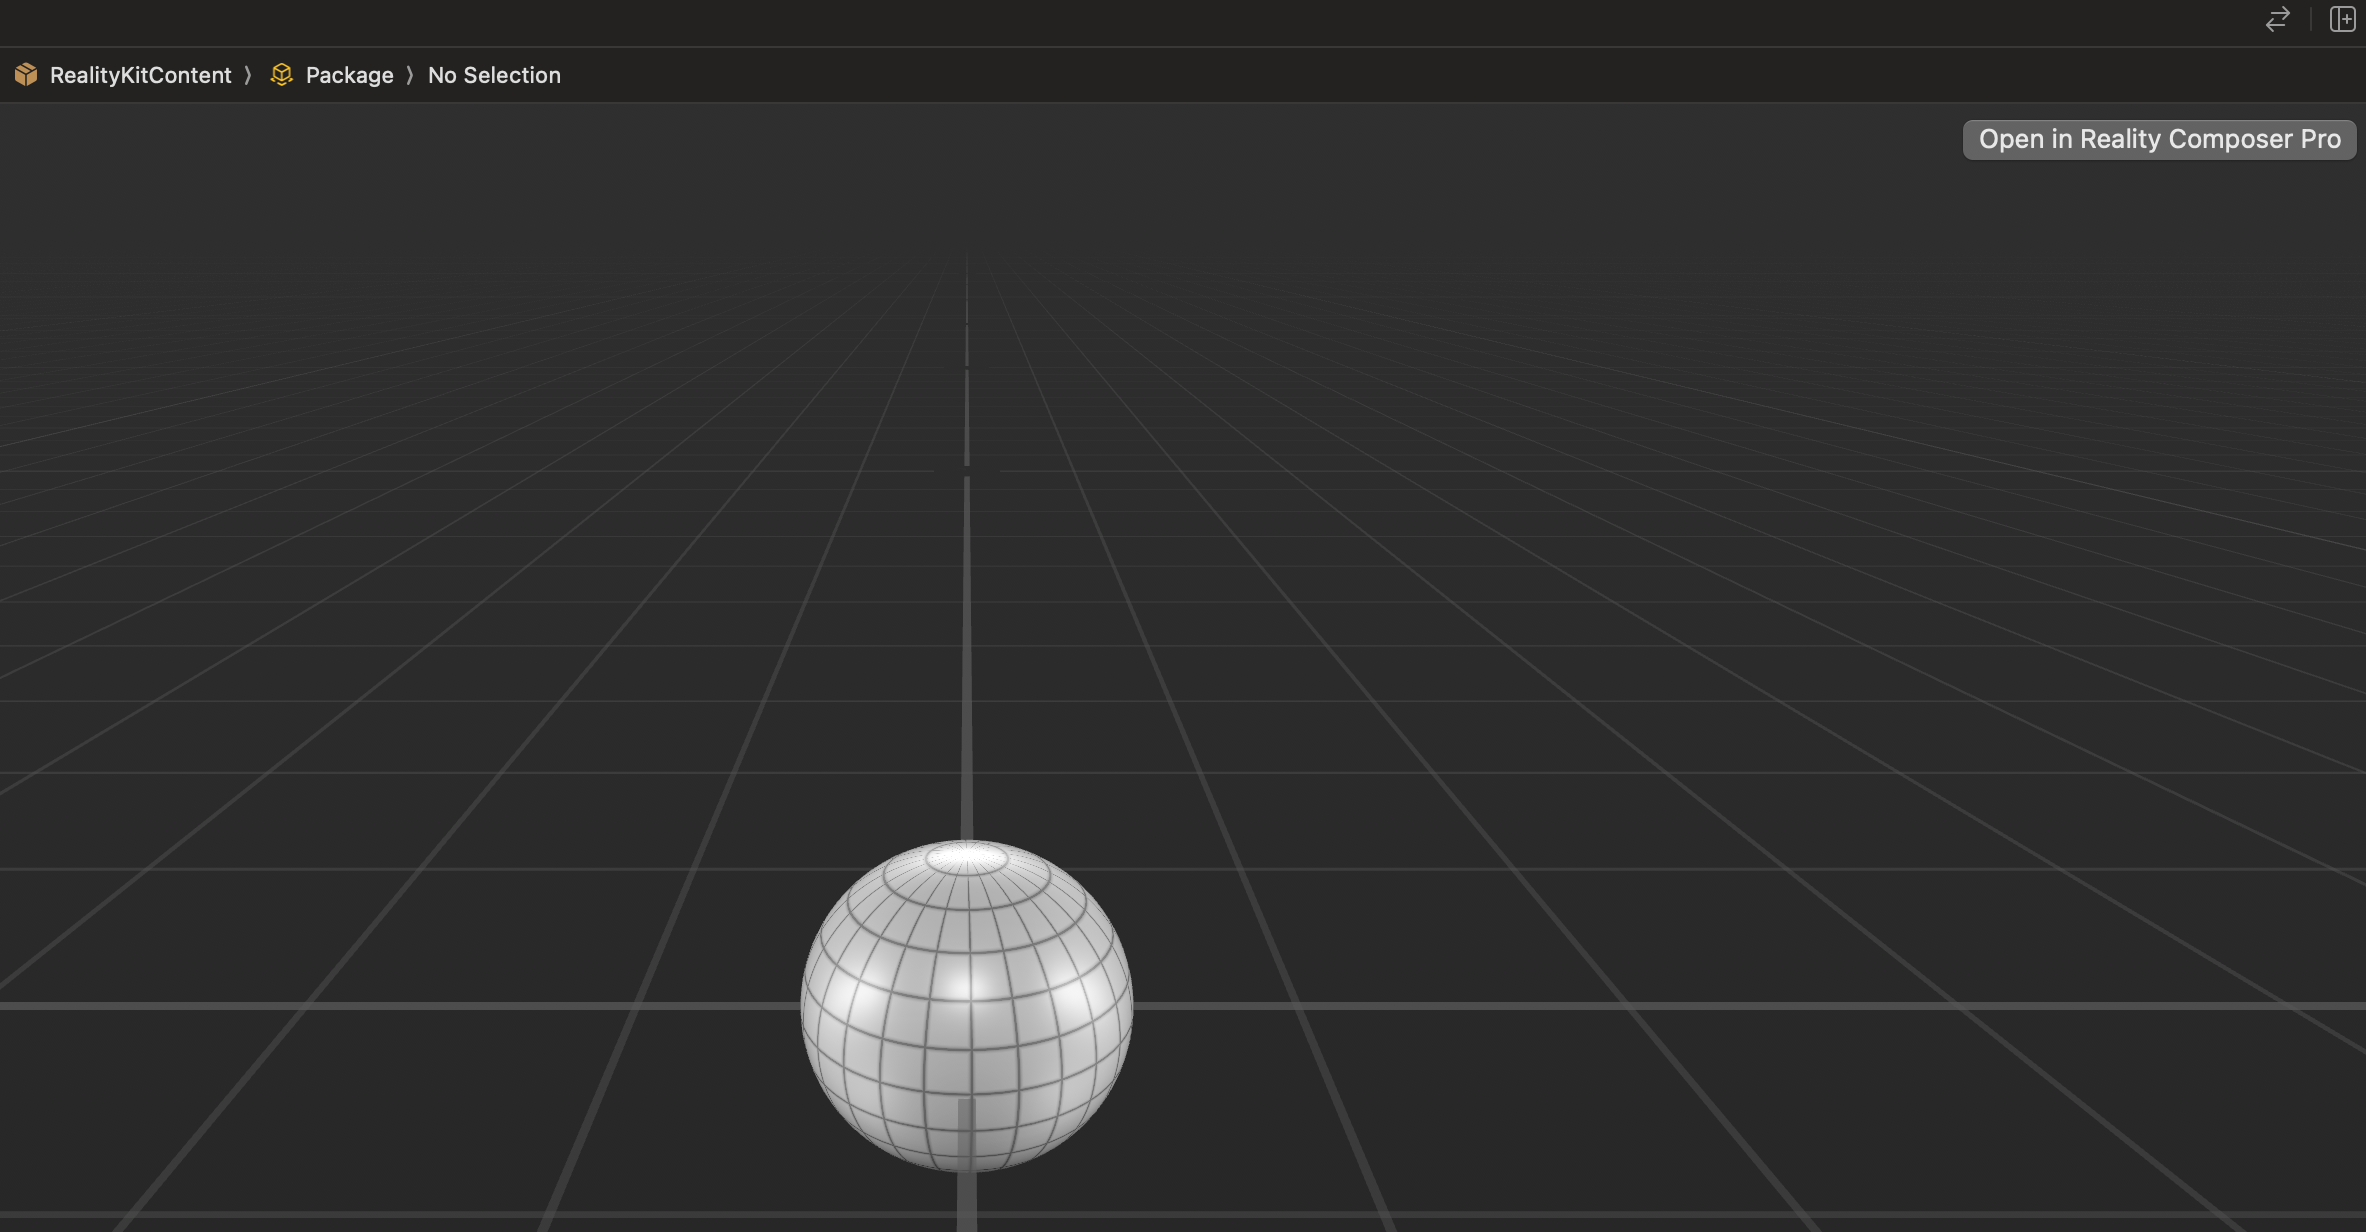
Open Xcode and start a new Vision Pro App. In the demo code, there's a RealityKitContent package already in place with a sphere in it. We can change it to use our model. Open Packages -> RealityKitContent -> Package.
Select "Open In Reality Composer Pro" at the top-right corner.
Select and delete the sphere. Then add the new model by dragging the exported model file into the assets at bottom.
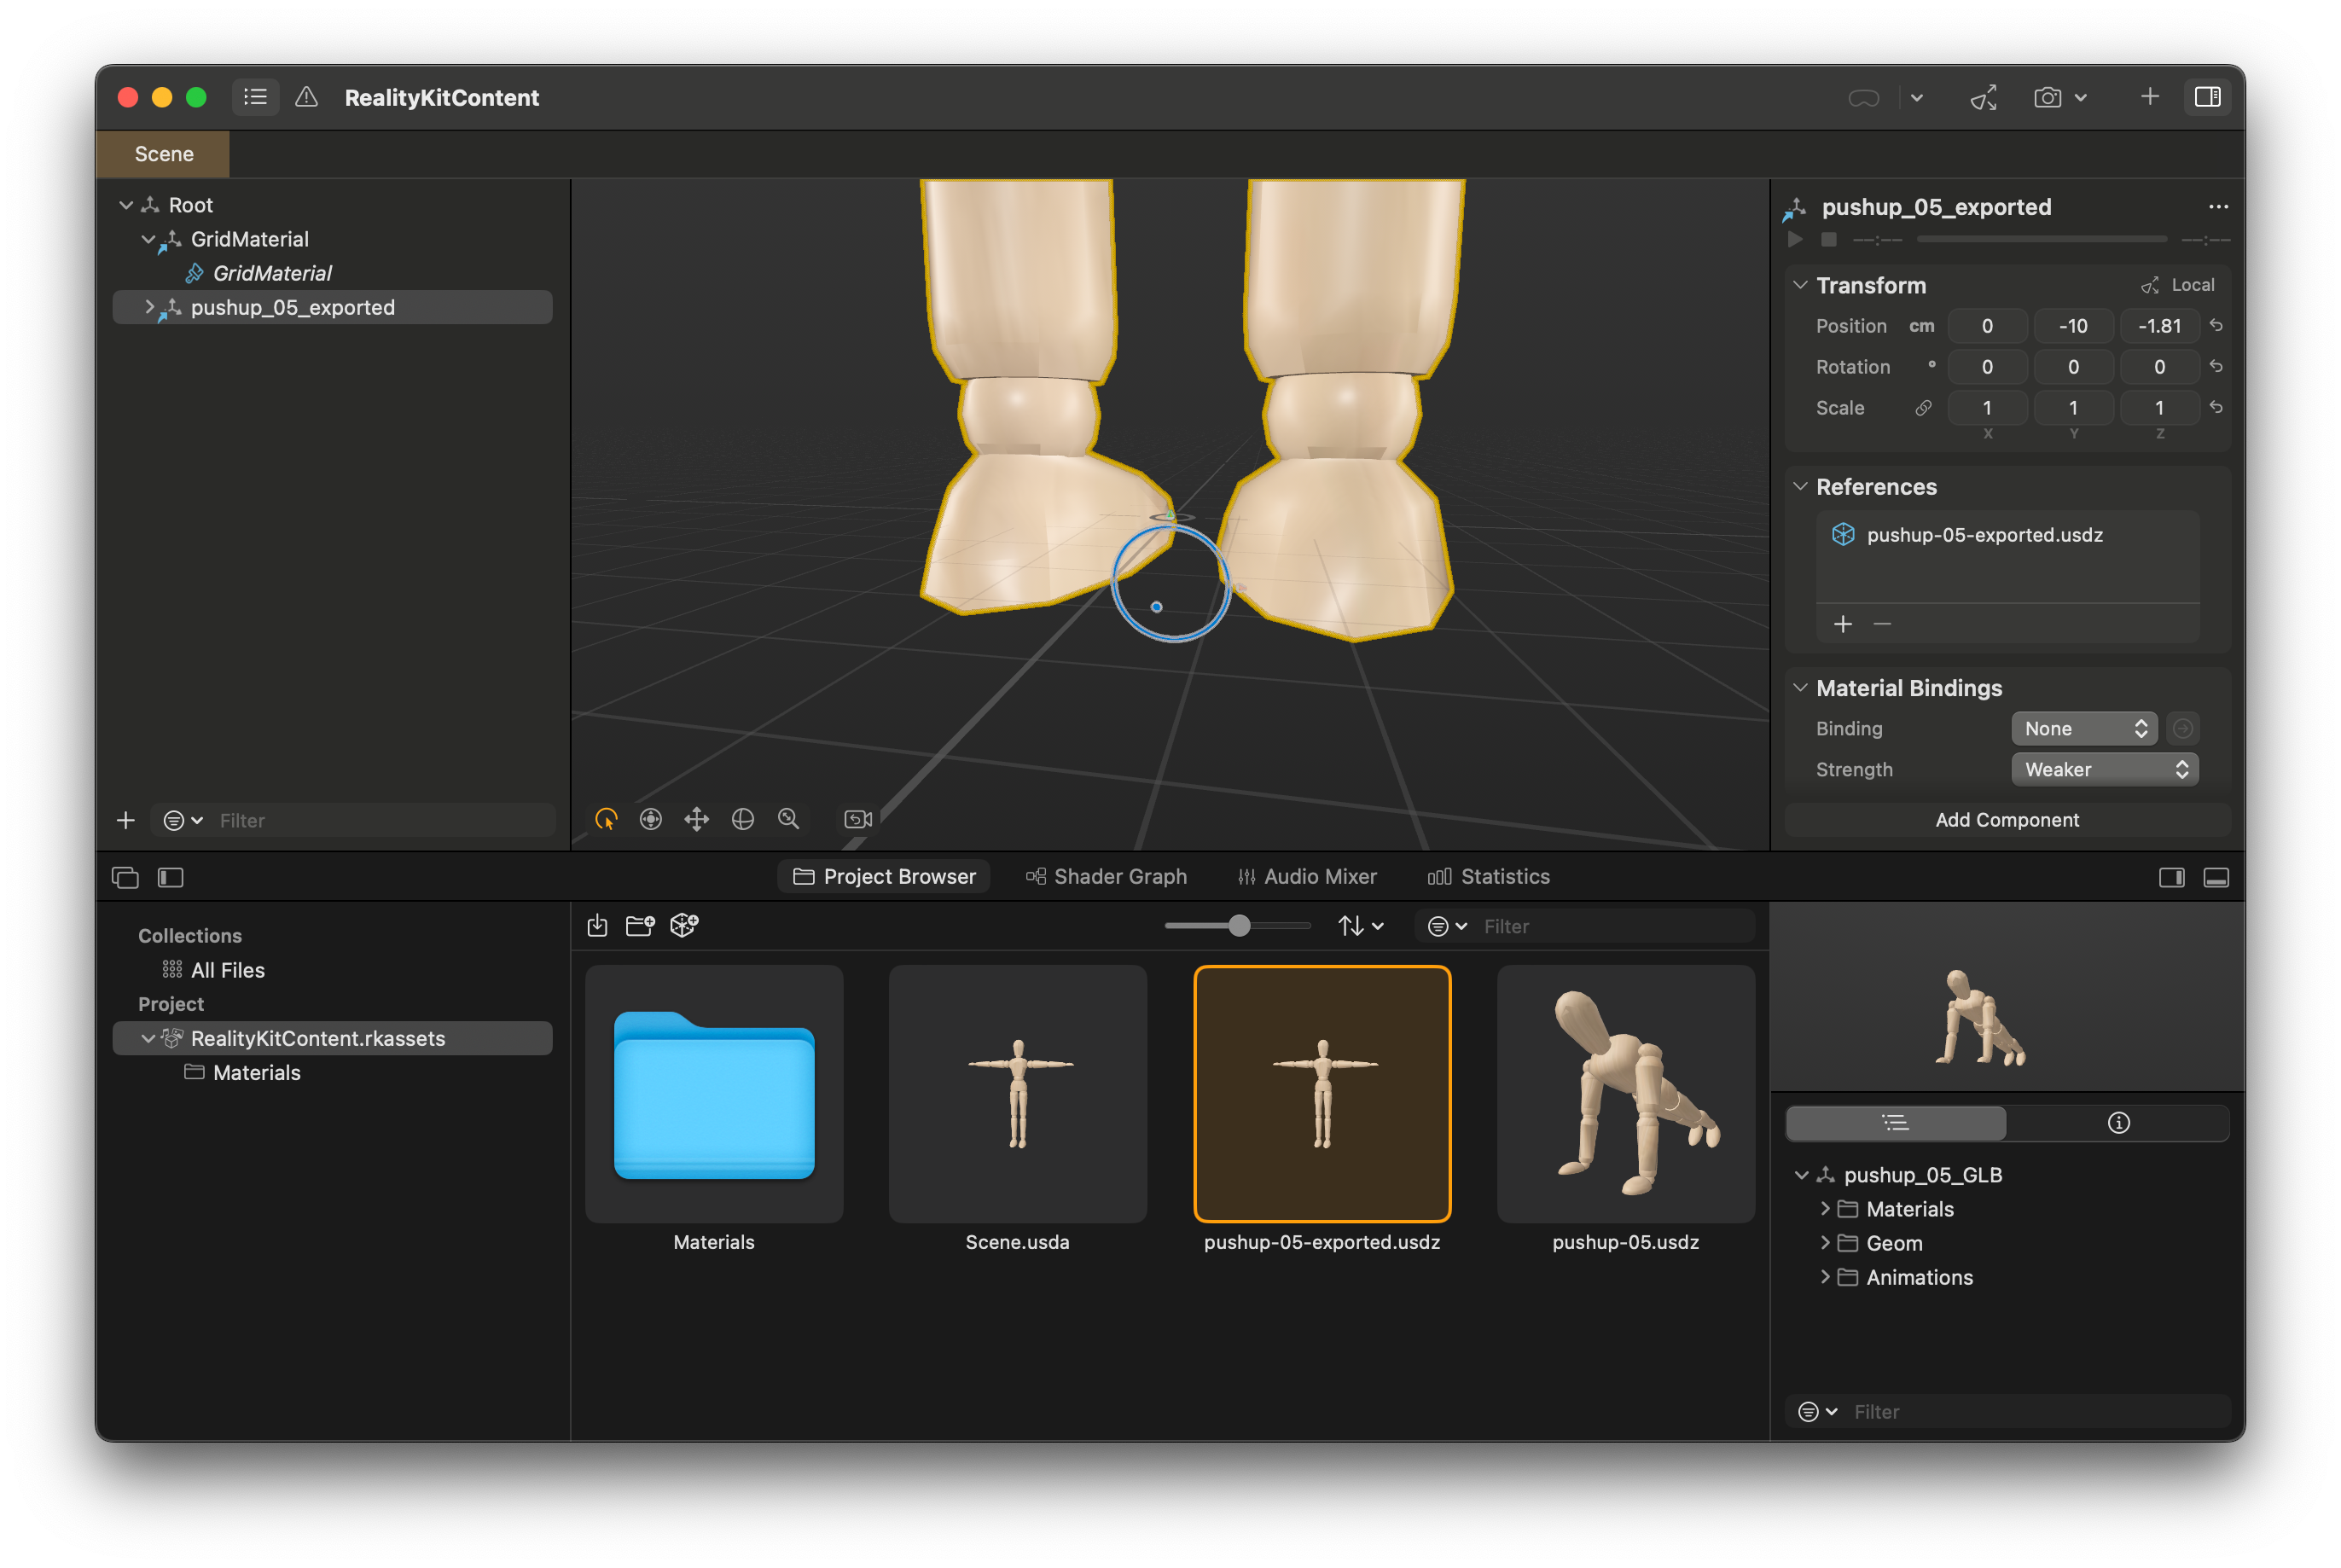
Then, drag this new asset into the scene and position it in the center. If needed, you can adjust angle or size when selecting the model.
Remember to press Save before closing Reality Composer Pro.
Open in Project #
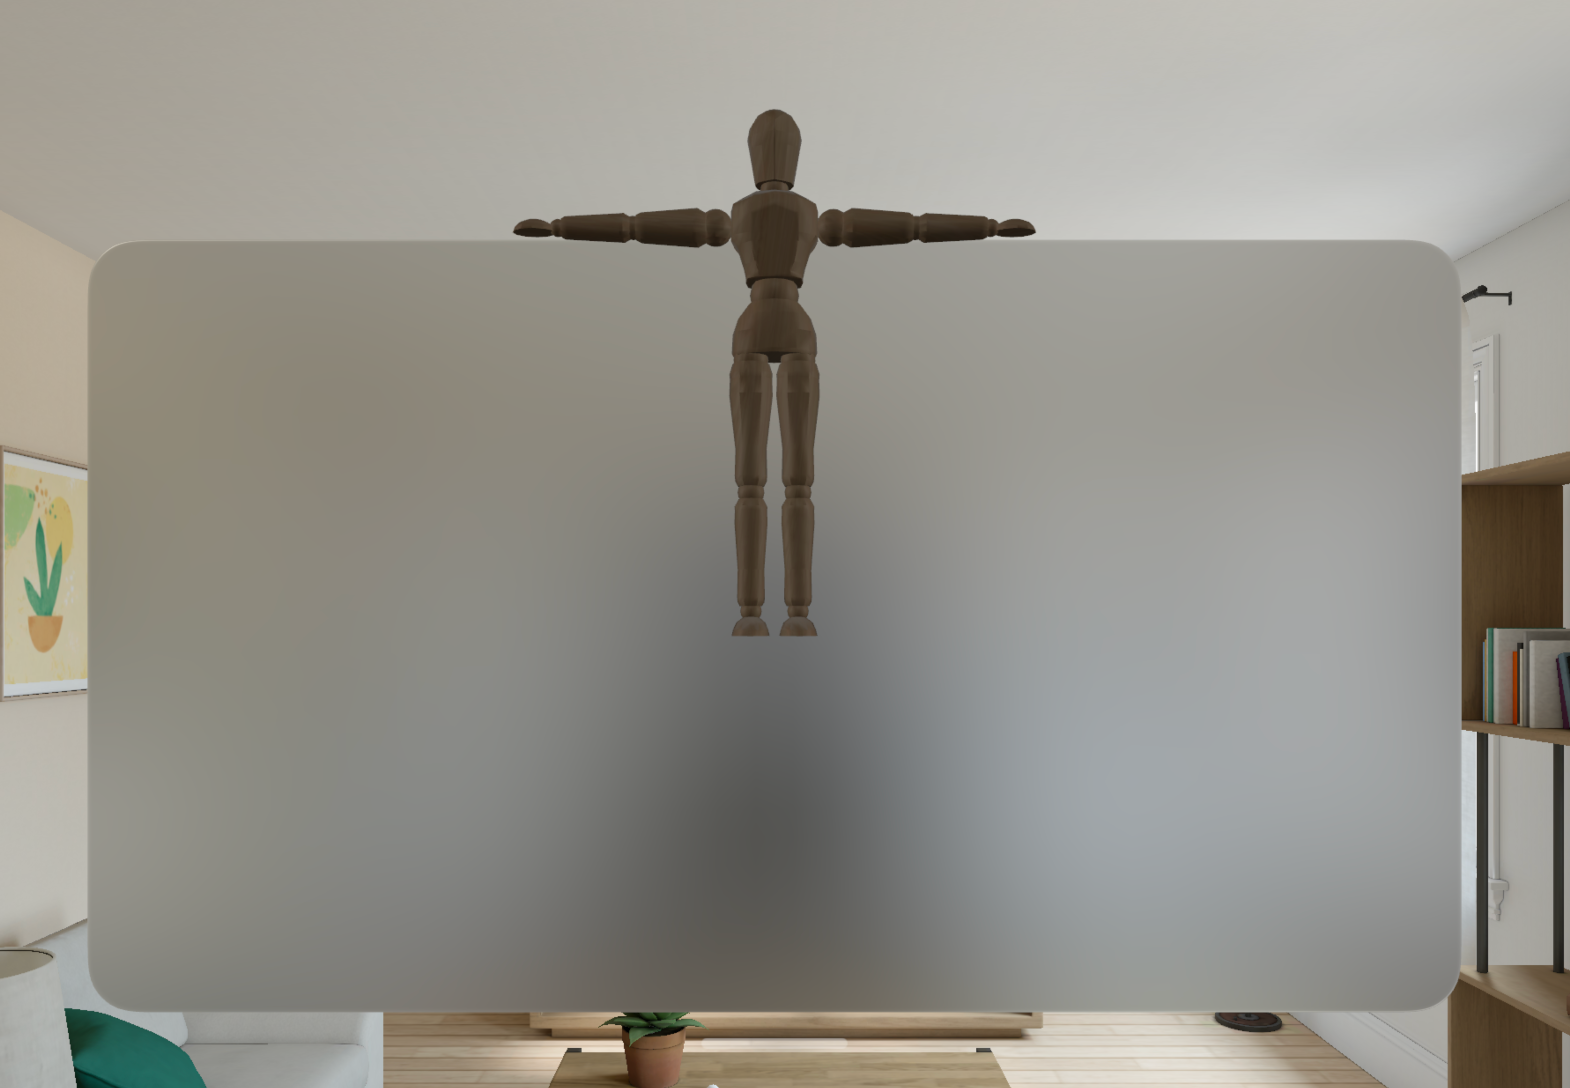
Return to XCode and open ContentView, let the preview load (or load preview) and you should see the model.
Applying animation from Blender #
When loaded in the demo code, it shows the model in it's default state. In my example this is the classic T-pose without any animation applied. The Blender model has an animation, so let's apply it by adjusting the ContentView code:
struct ContentView: View {
    var body: some View {
        RealityView { content in
            if let animatedModel = loadEntity() {
                content.add(animatedModel)
                animatedModel.isEnabled = false
            }
        } update: { content in
            guard let character = content.entities.first else { return }

            character.isEnabled = true
            character.availableAnimations.forEach { animation in
                character.playAnimation(animation.repeat())
            }
        }
    }

    private func loadEntity() -> Entity? {
      try? Entity.load(named: "Scene", in: realityKitContentBundle)
    }
}
This code starts by loading the Scene model entity using the loadEntity function. It sets isEnabled to false so that it won't show the default pose without animation applied. It then uses update to apply the animation from the model file.
You may find though that the size still isn't right. In that case you can add some adjustments to the model in the loadEntity method.
Scaling in code #
Rather than rely on sizing the model in Reality Composer Pro. In loadEntity, you can use setScale to adjust the output size:
private func loadEntity() -> Entity? {
    let entity = try? Entity.load(named: "Scene", in: realityKitContentBundle)

    entity?.setScale(SIMD3(x: 0.05, y: 0.05, z: 0.05), relativeTo: nil)

    return entity
}
You should now have an animated model in your Vision app.
- Previous: Are people returning Vision Pro?
- Next: Volumetric windows